We’re doing a lot of cross-platform software development these days, and that means doing a lot of cross-platform testing too.
The best way to handle that these days is with virtual computing since it allows you to use one box to run dozens of platforms (operating system and software configurations) at once – even simultaneously if you wish (and we do).
Until recently we were outsourcing this part of our operation but that turned out to be very painful. To date nobody in the cloud-computing game quite has the interface we need for making this work. In particular we need the ability to keep pristine images of platforms that we can load on demand. We also need the ability to create new reusable snapshots as needed.
All of this exists very nicely in VMWare, of course, but to access it you really need to have your own VMWare setup in-house (at least that’s true at the moment). So I ordered a new Dell Power Edge 2970 to run at the Mad Lab with ESXi 4.
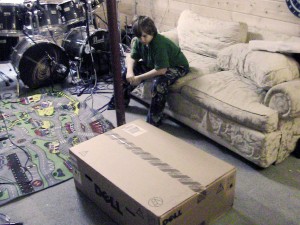
Hey Leo - Install that for me
Around the Mad Lab we like to take every opportunity to teach, learn, and experiment so I enlisted Leo to get the server installed.
The first thing that occurred to me after it arrived is that it’s big and heavy. We have a rack in the lab from our old data center in Sterling, but it’s one of the lighter-duty units so some “adaptation” would be required. Hopefully not too much.
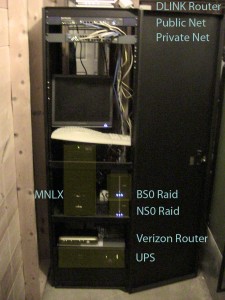
Mad Rack before the new server
Another concern that I had is that this server might be too loud. After all, boxes like this are used to living in loud concrete and steel buildings where people do not go. I need to run this box right next to the main tracking room in the recording studio. No matter though – it must be done, and I’ve gotten pretty good at treating noisy equipment so that it doesn’t cause problems. In fact, the rack lives in a special utility room next to the air handler so everything I do in there to isolate that room acoustically will help with this too.
Opening the box we quickly discovered I was right about the size. The rail kit that came with the device was clearly too large for the rack. We would have to find a different solution.
The server itself would stick out the back of the rack a bit so I had Leo measure it’s depth and check that against the depth we had available in the rack.
As it turned out we needed to move the rack forward a bit in order to leave enough space behind it. The rack is currently installed in front of a structural column and some framing. Once Leo measured the available distance we moved the rack forward about 8 inches. That provided plenty of space for the new server and access to it’s wiring.
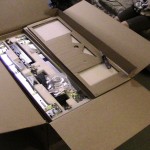 Gosh those rails look big | 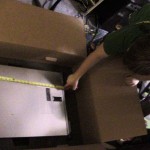 How long is it? | 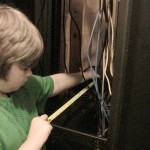 Must move the rack to make room |
|---|
That solved one problem but we still had the issue of the rails being too long for the rack. Normally I might take a hack saw to them and modify them to fit but in this case that would not be possible – and besides: the rail kit from Dell is great and we might use it later if we ever move this server out of the Mad Lab and into one of the data centers.
Luckily I’d solved this problem before and it turned out we had the parts to do it this time as well. Each of these slim-line racks has a number of cross members installed for ventilation and stability. These are pretty tough pieces of kit though so they can be used in a pinch to act as supports for the front and back of a long server like this. Just our luck we had two installed – they just needed to be moved a bit.
I explained to Leo how the holes are drilled in a rack, the concept of “units” (1-U, 2-U, etc), and where I wanted the new server to live. Leo measured the height and Ian counted holes to find the new locations for the front and back braces.
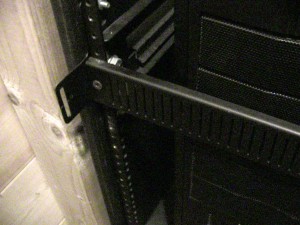 Use these braces instead of rails | 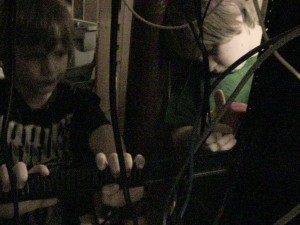 Teamwork |
|---|
Then Leo held the cabling back while I loaded the new server into the rack. We keep power cables on the left side and signal cables on the right (from the front). The gap between the sides and the rails makes for nice channels to keep the cabling neat… well, ok, neat enough ;-). If this rack were living in a data center then it wouldn’t be modified very often and all of the cables would be tightly controlled. This rack lives at the Mad Lab where things are frequently moved around and so we allow for a little more chaos.
Once the server is over the first brace it’s easy to manage. In fact, it’s pretty light as servers go. This kind of thing can be done with one person but it’s always best to have a helper.
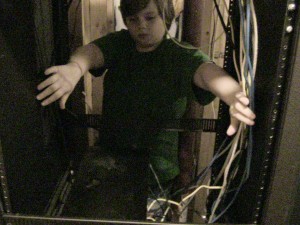 Power Left, Signals Right | 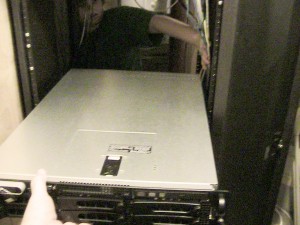 Slides right in with a little help |
|---|
Once the server was in place we tightened up the thumb screws on the front. If the braces weren’t in the right place this wouldn’t have worked because the screw holes wouldn’t have aligned. Leo and Ian had it nailed and the screws mated up perfectly.
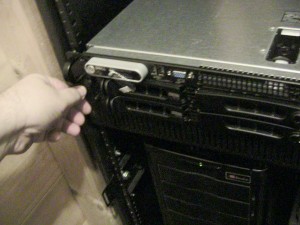 Tighten the left thumb screw | 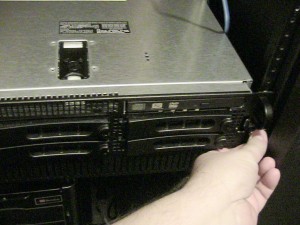 Tighten the right thumb screw |
|---|
With the physical installation out of the way it was time to wire up the beast. It’s a bit dark in the back of the rack so we needed some light. Luckily this year I got one of the best stocking stuffers ever – a HUGlight.
The LEDs are bright and the bendable arms are sturdy. You can bend the thing to hang it in your work area, snake it through holes to put light where you need it, stand it on the floor pointing up at your work… The possibilities are endless. Leo thought of a way to use it that I hadn’t yet – he made it into a hat!
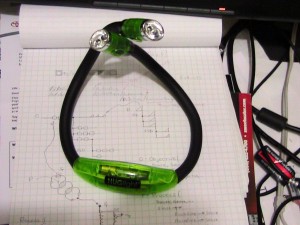 HUGLight - Best stocking stuffer ever! | 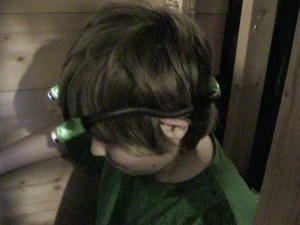 Leo wears HUGlight like a hat |
|---|
Once the wiring was complete I threw the keyboard and monitor on top, plugged it in, and pushed the button (smoke test). Sure enough, as I feared, the server sounded like a jet engine when it started up. For a moment it was the loudest thing in the house and clearly could not live there next to the studio if it was going to be that loud… either that or I would have to turn it off from time to time, and I sure didn’t want to do that.
Then after a few seconds the fans throttled back and it became surprisingly quiet! In fact it turns out that with the door of the rack closed and the existing acoustic treatments I’ve made to the room this server will be fine right where it is. I will continue to treat the room to isolate it (that project is only just beginning) but for now what we have is sufficient. What a relief.
Within a minute or two I had the system configured and ready for ESXi.
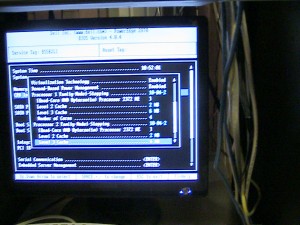
It Is Alive!
The keyboard and monitor wouldn’t be needed for long. One of the best decisions I made was to order the server with DRAC installed. Once it was configured with an IP address and connected to the network I could access the console from anywhere on my control network with my web browser (and Java). Not only that but all of the health monitors (and then some) are also available. It was well worth the few extra dollars it cost. I doubt I’ll ever install another server without it.
Back in the day we needed to physically lay hands on servers to restart them; and we had to use special software and hardware gadgets to diagnose power or temperature problems – up hill, both ways, bare feet, in the snow!! But I digress…
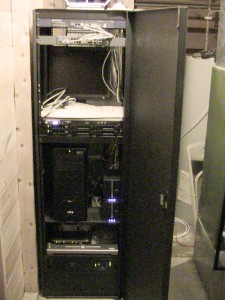
Mad Rack After
After that I installed ESXi, pulled out the disk and closed the door. I was able to perform the rest of the setup from my desk:
- Configured the ESXi password, control network parameters, etc.
- Downloaded vSphere client and installed it.
- Connected to the ESXi host, installed the license key.
- Setup the first VM to run Ubuntu 9.10 with multiple CPUs.
- … and so on
The server has now been alive and doing real work for a few days and continues to run smoothly. In fact I’ve not had to go back into that room since except to look at the blinking lights (a perk).
We’re doing a lot of cross-platform software development these days, and that means doing a lot of cross-platform testing too.
The best way to handle that these days is with virtual computing since it allows you to use one box to run dozens of platforms (operating system and software configurations) at once – even simultaneously if you wish (and we do).
Until recently we were outsourcing this part of our operation but that turned out to be very painful. To date nobody in the cloud-computing game quite has the interface we need for making this work. In particular we need the ability to keep pristine images of platforms that we can load on demand. We also need the ability to create new reusable snapshots as needed.
All of this exists very nicely in VMWare, of course, but to access it you really need to have your own VMWare setup in-house (at least that’s true at the moment). So I ordered a new Dell Power Edge 2970 to run at the Mad Lab with ESXi 4.
(LeoInstallThatForMe)
Around the Mad Lab we like to take every opportunity to teach, learn, and experiment so I enlisted Leo to get the server installed.
The first thing that occurred to me after it arrived is that it’s big and heavy. We have a rack in the lab from our old data center in Sterling, but it’s one of the lighter-duty units so some “adaptation” would be required. Hopefully not too much.
(MadRackBefore)
Another concern that I had is that this server might be too loud. After all, boxes like this are used to living in loud concrete and steel buildings where people do not go. I need to run this box right next to the main tracking room in the recording studio. No matter though – it must be done, and I’ve gotten pretty good at treating noisy equipment so that it doesn’t cause problems. In fact, the rack lives in a special utility room next to the HVAC so everything I do in there to isolate that room acoustically will help with this too.
Opening the box we quickly discovered I was right about the size. The rail kit that came with the device was clearly too large for the rack. We would have to find a different solution.
(GoshThoseRailsLookBig)
Clearly the server itself would stick out the back of the rack a bit so I had Leo measure it’s depth and check that against the depth we had available in the rack.
(HowLongIsIt)
As it turned out we needed to move the rack forward a bit in order to leave enough space behind it. The rack is currently installed in front of a structural column and some framing. Once Leo measured the available distance we moved the rack forward about 8 inches. That provided plenty of space for the new server and access to it’s wiring.
(MustMoveTheRackToMakeRoom)
That solved one problem but we still had the issue of the rails being too long for the rack. Normally I might take a hack saw to them and modify them to fit but in this case that would not be possible – and besides: the rail kit from Dell is great and we might use it later if we ever move this server out of the Mad Lab and into one of the data centers.
Luckily I’d solved this problem before and it turned out we had the parts to do it this time as well. Each of these slim-line racks has a number of cross members installed for ventilation and stability. These are pretty tough pieces of kit though so they can be used in a pinch to act as supports for the front and back of a long server like this. Just our luck we had two installed – they just needed to be moved a bit.
(WeWillUseTheseBracesInsteadOfRails)
I explained to Leo how the holes are drilled in a rack, the concept of “units” (1-U, 2-U, etc), and where I wanted the new server to live. Leo measured the height and Ian counted holes to find the new locations for the front and back braces.
(IanAndLeoInstallTheBackSupport)
Then Leo held the cabling back while I loaded the new server into the rack. We keep power cables on the left side and signal cables on the right (from the front). The gap between the sides and the rails makes for nice channels to keep the cabling neat… well, ok, neat enough ;-). If this rack were living in a data center then it wouldn’t be modified very often and all of the cables would be tightly controlled. This rack lives at the Mad Lab where things are frequently moved around and so we allow for a little more chaos.
(HoldPowerOnLeftSignalOnRight)
Once the server is over the first brace it’s easy to manage. In fact, it’s pretty light as servers go. This kind of thing can be done with one person but it’s always best to have a helper.
(SlidesRigthIn)
Once the server was in place we tightened up the thumb screws on the front. If the braces weren’t in the right place this wouldn’t have worked because the screw holes wouldn’t have aligned. Leo and Ian had it nailed and the screws mated up perfectly.
(TightenTheLeftThumbScrew) (TightenTheRightThumbScrew)
With the physical installation out of the way it was time to wire up the beast. It’s a bit dark in the back of the rack so we needed some light. Luckily this year I got one of the best stocking stuffers ever – a HUGlight.
(BestStockingStufferEver)
The LEDs are bright and the bendable arms are sturdy. You can bend the thing to hang it in your work area, snake it through holes to put light where you need it, stand it on the floor pointing up at your work… The possibilities are endless. Leo thought of a way to use it that I hadn’t yet – he made it into a hat!
(LeoWithHugLightOn)
Once the wiring was complete I threw the keyboard and monitor on top, plugged it in, and pushed the button (smoke test). Sure enough, as I feared, the server sounded like a jet engine when it started up. For a moment it was the loudest thing in the house and clearly could not live there next to the studio if it was going to be that loud… either that or I would have to turn it off from time to time, and I sure didn’t want to do that.
Then after a few seconds the fans throttled back and it became surprisingly quiet! In fact it turns out that with the door of the rack closed and the existing acoustic treatments I’ve made to the room this server will be fine right where it is. I will continue to treat the room to isolate it (that project is only just beginning) but for now what we have is sufficient. What a relief.
Within a minute or two I had the system configured and ready for ESXi.
(ItIsAlive)
The keyboard and monitor wouldn’t be needed for long. One of the best decisions I made was to order the server with DRAC installed. Once it was configured with an IP address and connected to the network I could access the console from anywhere on my control network with my web browser (and Java). Not only that but all of the health monitors (and then some) are also available. It was well worth the few extra dollars it cost. I doubt I’ll ever install another server without it.
Back in the day we needed to physically lay hand on servers to restart them; and we had to use special software and hardware gadgets to diagnose power or temperature problems – up hill, both ways, bare feet, in the snow!! But I digress…
(MadRackAfter)
After that I installed ESXi, pulled out the disk and closed the door. I was able to perform the rest of the setup from my desk:
-
Configured the ESXi password, control network parameters, etc.
-
Downloaded vSphere client and installed it.
-
Connected to the ESXi host, installed the license key.
-
Setup the first VM to run Ubuntu 9.10 with multiple CPUs.
-
… and so on
The server has now been alive and doing real work for a few days and continues to run smoothly. In fact I’ve not had to go back into that room since except to look at the blinking lights (a perk).